Imaging Results is available under Imaging
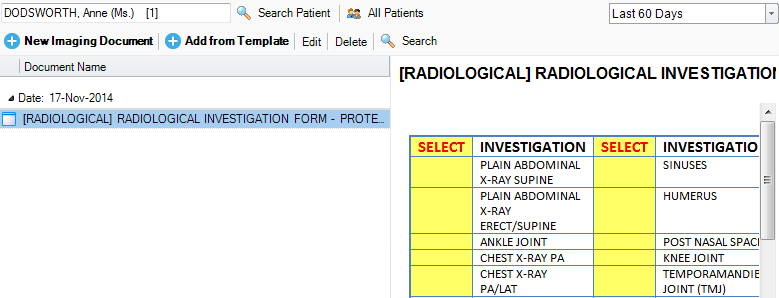
Imaging results are based on the Patient Documents . The lab documents are special documents, marked as imaging document, and as normal Patient Documents, they are attached to the patient. Any type of document can be a imaging document. The typical imaging document type is MS Word files. The program comes preloaded with a set of templates that you can use. More on importing and using these templates in Patient Document Templates
How to use
1. The viewer can be used to view the records of all patients with All Patients pressed, or
2. View the records of a single patient. Click Search Patient to filter by patient
3. Additionally you can filter by a date range with 
4. Or do searches by pressing the  button and typing your search text
5. In the left sidebar you can filter the documents by their type:
- Pending - tests not yet ready
- Completed - tests are finished
- All - all tests
Adding a New Imaging Document
1. Click the New Imaging Document on the toolbar.
2. Enter a Title and check the Is Imaging Document check box. If the lab test are completed, check the Imaging Completed check box.

3. Choose the content based on the available options. You can open an existing document, create a blank document and enter the content, or capture documents from media devices.
4. Click Save and Close to save the record.
Adding from a Request
More details are available at Imaging Request Editor
Adding from a Template
1. Select the template in the list. You can filter out templates by name. You also can Create New or Import Predefined templates
2. Enter a Title and check the Is Imaging Document check box. If the lab test are completed, check the Imaging Completed check box.
3. The Patient Document Editor will open with the in line document. Here you can change the content of the document or fields like title, date or tags
4. Click Save and Close to save the record.
Depending on the template, you may need MS Word or Excel installed to view or edit the files inline |
Editing an Imaging Document
1. Select a document and click the Edit button on the toolbar. Based on the document type, the document opens in the Patient Document editor.
2. Edit the document. After editing the document, save the changes.
Deleting an Imaging Document
1. Select a document and click the Delete button on the toolbar.
2. Click the Yes button to confirm. The selected document is deleted.